My First 3D Printer Creality Hi & 3 Failed Prints on My First Try!
 |
| My First 3D Printer Creality Hi & 3 Failed Prints on My First Try! |
Recently, I got my first 3D printer, the Creality Hi.
I believe the usual first 3D print for a beginner should be the 3D Benchy. The printer itself even came preloaded with the model. But I chose to bite off more than I could chew by printing a Xiaomi Band 9 magnetic charging stand by benbryss (Link).
Once I got the 3D printer and set it up, I went straight to print it out. I left everything at the default settings. Without doing any prior research or understanding how it actually works, I ended up failing 3 times to print this model.
YouTube Video
3 Failed 3D Printing Attempts
 |
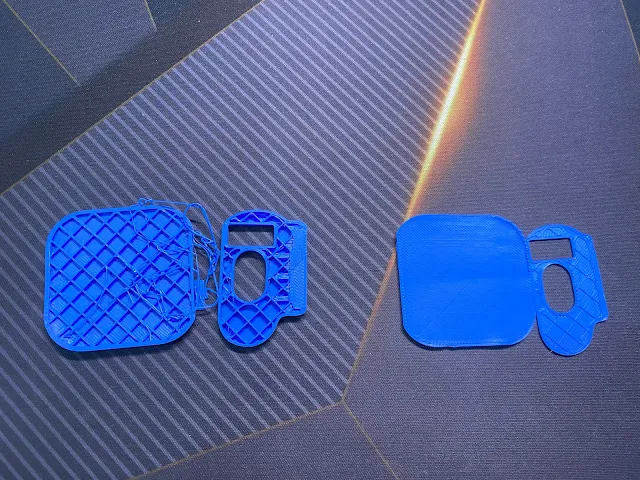
| First(left) and second(right) attempts to print the Xiao mi band 9 magnetic charging stand. |
The first and second attempts had the same issue. One of the parts moved during printing. The model is split into 2 parts — I called them: stand and adapter. The stand part moved in the very beginning of the printing process. Luckily, I stopped it before it turned into spaghetti.
I googled the cause, and someone suggested that the bed plate might need cleaning. It's possible that fingerprints or body oil caused the adhesion issue. I think that’s highly possible — I did touch the bed plate a lot during the assembly. I wiped it with a clean microfibre cloth before the next attempt.
 |
| Third attempt to print the Xiaomi band 9 magnetic charging stand. |
The third attempt was almost... almost!!! It almost completed the print. But the stand moved just a few minutes before it finished...... Let’s just think about the positive side — at least the adapter printed well.
At this point, I thought the problem might be the bed temperature.
This time, I started changing the settings in the slicer.
I'm quite certain I'm using Creality Ender series PLA filament. The slicer sets the bed temperature to 50°C after selecting that preset. I suspected the filament needed a higher bed temperature, so I switched the preset to generic PLA, which sets the bed temperature to 60°C.
I also checked the model page again. It turned out the creator shared some tips for better printing. I was just too excited and chose not to read it. My bad. I followed those settings this time.
 |
| 3D printed Xiaomi band 9 magnetic charging stand only. |
I removed the adapter part, since it had already printed well. The final print went very smoothly. No more adhesion problems. I got a very solid print.
Finally
 |
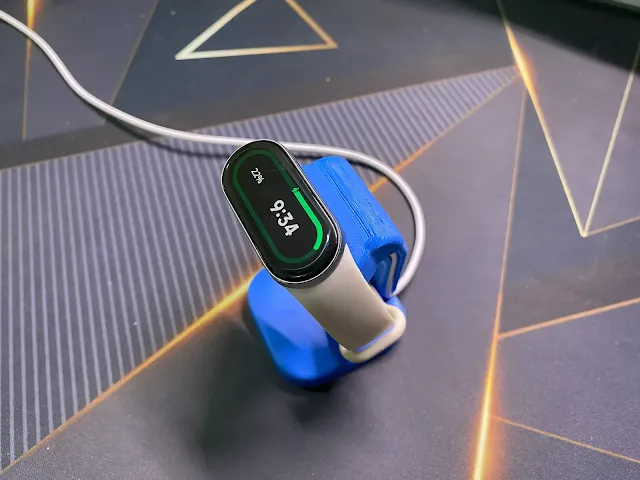
| 3D printed Xiaomi band 9 magnetic charging stand in-use. |
Now I can snap the adapter and stand together and charge my Mi Band 9.


%20with%20Rechargeable%20NiMH%20batteries%20and%20HT7833%20voltage%20regulator%20cover.webp)

